How many people have succeeded at growing good garlic? Especially, in warmer climates such as the subtropics… Do you get the leek variety? Or very small bulbuls rather than full-sized bulbs full of fat cloves?
We are told it should grow in a Mediterranean climate and growing conditions. But in all honesty, growing garlic in Australia or the subtropics, in general, requires quite good loamy soil full of compost, moist but still well-drained, and the right timing.
Then there’s the situation where you can’t just buy a handful of cloves from the market and throw a few in the ground for good measure. If you buy from a local organic grower, you have halved your failure odds because the garlic might be diseased, the wrong type or not stored cool enough to germinate correctly.
If you hold on to your cloves and keep them in cold storage until the new moon in February, March or April (start of autumn here in Australia), then you will probably succeed.

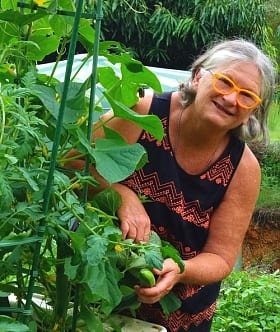
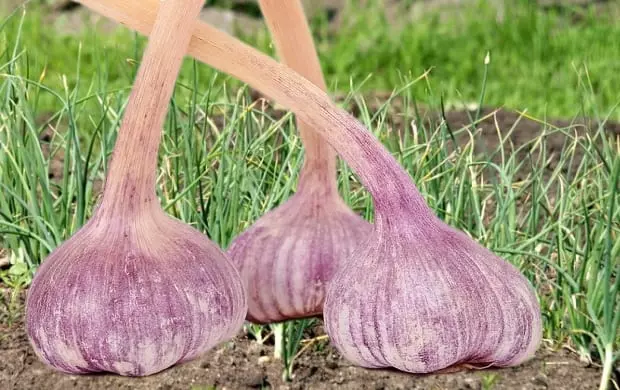
Garlic growing in raised beds (image above)
Otherwise, wait until January or February, order your garlic bulb from your nearest seed supplier so you get varieties that suit the local conditions and put them in on the new moon phase of March/April. It will take them 6-8mths to mature and be ready in October/November.
While you wait for your garlic to arrive, get your planting bed ready. It needs to be in a place that will receive 6 hours of full sun in winter, moderately fertile with good compost and loamy soil.
The medium/soil needs to hold good moisture yet drain freely so in many places in Australia where the rainy season is in the first half of the year, its best to make a mound to sow cloves into.
We have been told garlic will grow in anything, sand, gravel, etc. Maybe you can convince that clove to produce a new bulb, but I would suggest narrowing the odds by making a nice bed of good soil for it.
The day before planting, break the bulb apart into individual cloves and soak in a solution of bicarbonate soda; one teaspoon in a cup of water. This will help prevent any disease the garlic might be carrying from infecting the plant.

Next day sow your garlic in its prepared bed. Plant cloves 20cm apart with the pointy end up and about 4cm deep. The rows can also be 20cm apart. So if making a planting mound, be sure it is wide enough on top to accommodate 2 rows if you are sowing that many.
There must be room between plants to have good air movement when the weather is humid as it will be if you live anywhere on the east coast of Australia where the wet season is happening during its growing season. But also be very careful if you live in the west or down southern parts of Australia (or anywhere in the world) where the wet season is in winter because that can actually cause more moisture to be held around the plant mostly due to the weather being much cooler with less sun.
Once all are planted, water well, then mulch deeply. Check every few days to be sure it isn’t drying out during the growing stage. Garlic doesn’t like competition from other garden plants or weeds so be sure to pull them out or tie up your garden plants.
Plants are mature and ready for harvest when the leaves begin turning yellow. The flower will also appear. It looks like a whole other bulb coming up on a thick stem from the centre of the stem. If the leaves aren’t yellowed yet, cut the flower off so it doesn’t steal all the energy required to finish the maturing process. Having said that, there are a couple of varieties that require the flower to be left in place although those aren’t common. Knowing what cultivar you have and following the instructions provided by the seed company is important in this case.

Pull your garlic once some leaves have gone yellow and bunch or plait into braids then hang for several weeks until all the leaves and outer skins have dried completely. If it’s humid, cut all the roots off, otherwise, it’s ok to leave them. Garlic can be left hanging indefinitely while you cut a bulb off as needed in the kitchen.

You can save some of the bulbs for next season if you are into seed saving. Keep the bulbs intact, don’t separate the individual cloves off. Although it is best to cut the dried leaves off along with excess skins. Store in a paper bag in the crisper of your fridge until the new moon in February (for Australia or last month of summer in subtropical climates). Remove from the fridge and store in a dry place outside the bag so the bulb knows summer is here and its time to start thinking about growing again. Only save your own bulbs once, then next year buy new bulbs.

The darker purple the skin, the stronger the flavour, but not all purple skin varieties will grow everywhere.